
Homemade Sourdough Starter Recipe: Your First Step to Real Bread
There’s something deeply satisfying about baking your own bread — especially when it starts from scratch. No commercial yeast, no shortcuts — just flour, water, time, and a bit of care. That’s the magic of sourdough. And it all begins with a homemade sourdough starter.
If you’ve ever wondered how to make one yourself, this guide is for you. It’s simple, natural, and takes just a few minutes a day to bring your starter to life.
🥖 What Is a Sourdough Starter?
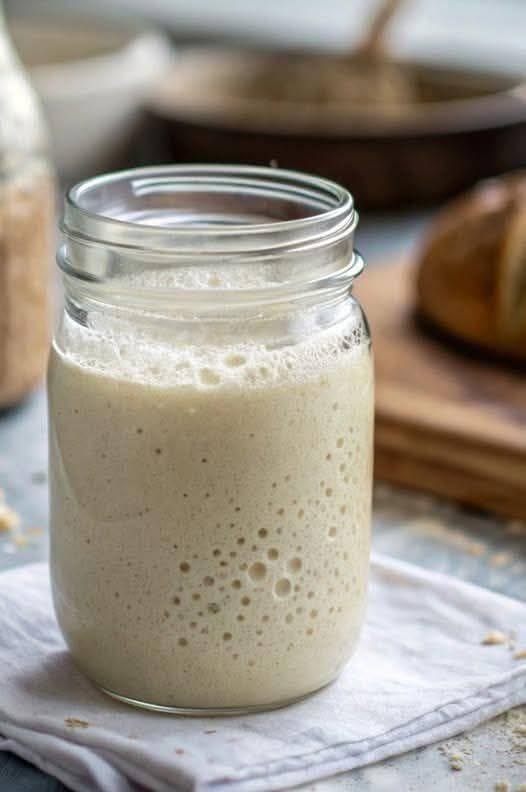
A sourdough starter is a living culture of wild yeast and lactic acid bacteria. When properly maintained, this mixture of flour and water becomes the rising power behind sourdough bread, giving it that distinct tangy flavor, chewy texture, and crisp crust.
Unlike store-bought yeast, a starter is self-sustaining — once it’s established, you can use it forever with regular feedings.
🧂 What You’ll Need
Flour: Unbleached all-purpose or whole wheat flour
Water: Filtered or dechlorinated (room temperature)
A jar or container: Preferably glass, with room for rising
A spoon or spatula: For mixing
That’s it. No fancy ingredients, no additives. Just nature doing its thing.
🕰️ Day-by-Day Starter Guide
Day 1: Mix
1/2 cup (60g) flour
1/4 cup (60g) water
Stir until smooth. Cover loosely (with a lid or cloth) and let it sit at room temperature (ideally 70–75°F/21–24°C) for 24 hours.
Day 2: Check In
You might see a few bubbles. Or not — either way, discard half the starter and feed:
1/2 cup (60g) flour
1/4 cup (60g) water
Mix and let sit again.
Days 3–6: Keep Feeding
Repeat the process daily:
For Complete Cooking STEPS Please Head On Over To Next Page Or Open button (>) and don’t forget to SHARE with your Facebook friends
ADVERTISEMENT
